PCI SPMS P1 Race Wing Install – 6th Gen Civic (Ek) Hatchback
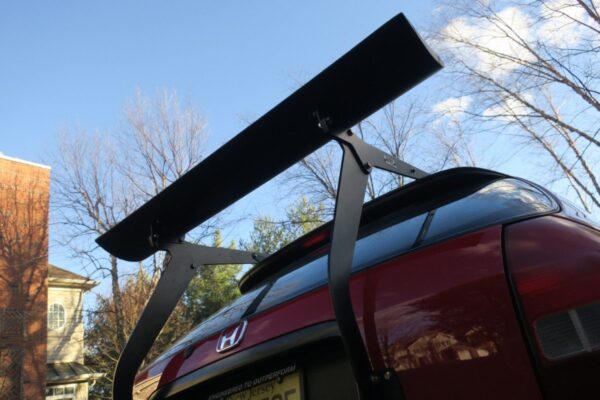
PCI makes rear race wings are used by top NASA Honda Challenge and SCCA Honda drivers. Together with their bracket solutions for common Honda and Acura chassis they are perfect and quick installation for a racer looking to balance front splitter down force and add high speed stability.
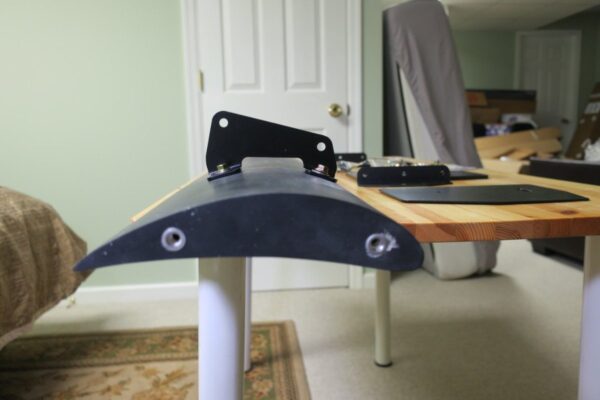
The PCI SPMS P1 Race wing is simple looking. A standard air foil that comes in 48" and 59" lengths for multiple applications. The 48" is perfect for hatchback civic especially to balance a small splitter.
The P1 Race wing features aluminum structure in layered fiber glass skin. The aluminum structure allows it to be drilled for different upright(bracket widths).
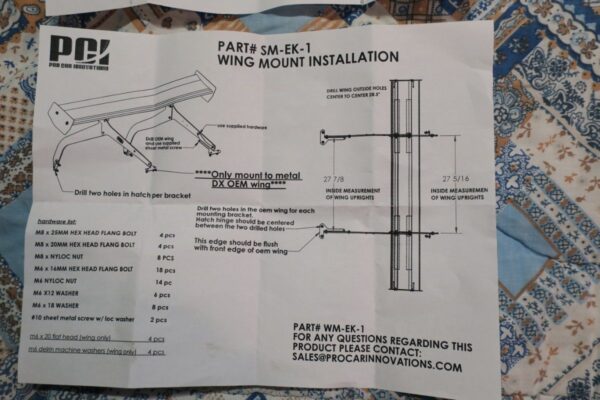
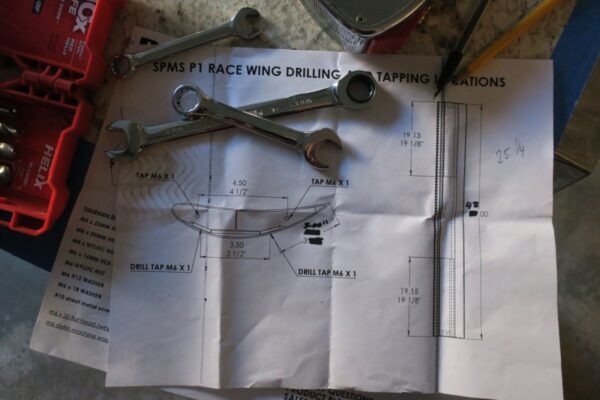
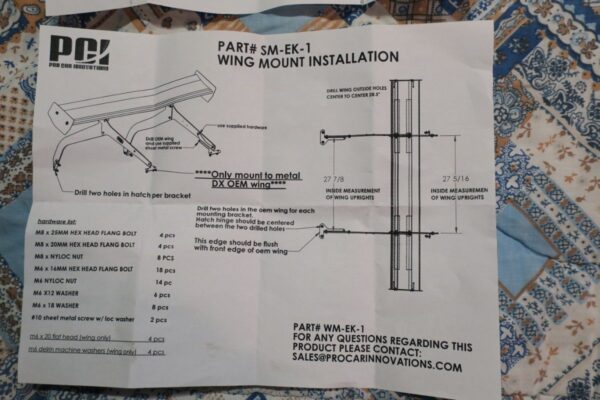
Lets take a look at the install process of a PCI rear race wing and bracket on a civic "Ek" hatchback 1996-2000. To determine wing mount bracket spacing we conducted dry runs with all brackets assembled prior to drilling the wing. Maintaining dimensions shown in instructions between all upright pieces, a bolt spacing of 25.25" (25-1/4") relative to wing center is necessary. For 48" wing use 11.375" from each end for measurement.
This process is identical for all 1992-2001 civic hatchbacks (Eg/Ek).
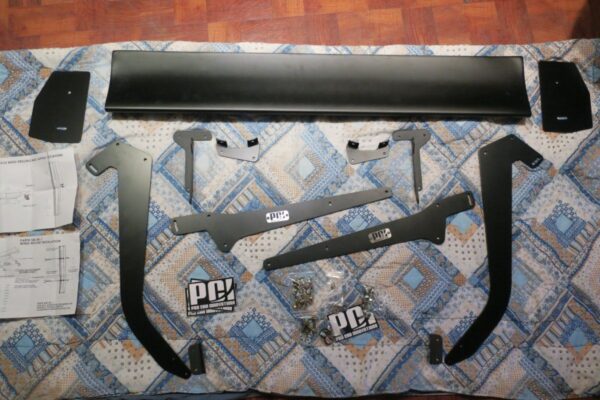
Part and Tools
Unpacking
Wing Drilling and Tapping
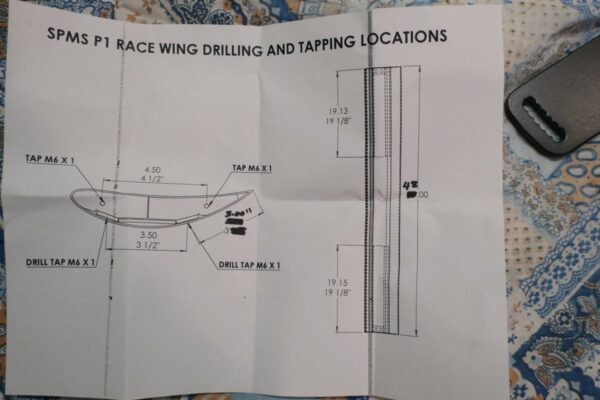
Do determine wing mount bracket spacing we conducted dry runs with all brackets assembled prior to drilling the wing. Maintaining dimensions shown in instructions between all upright pieces, a bolt spacing of 25.25" (25-1/4") relative to wing center is necessary. For 48" wing use 11.375" from each end for measurement.
- Tape bottom of wing using Painters Tape
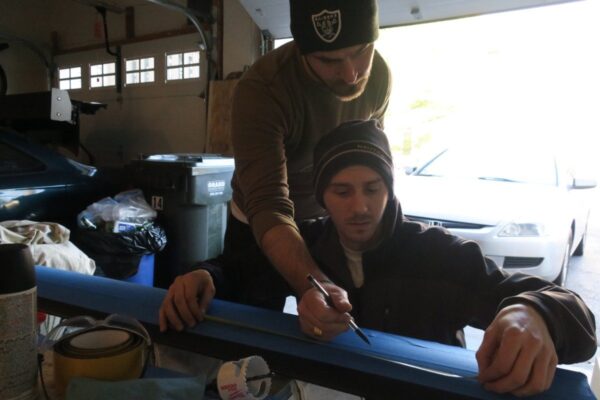
- Draw a line running length wise 3" from rear of wing
- Draw parallel line 6.5" from rear of wing (3.5" from previous line)
NOTE: Use tape measure and lay tape on bottom surface - Mark 11.375" (11-3/8") from the wing ends on each line
- Place wing mount bracket in correct orientation per drawing to verify holes are centered in bracket holes
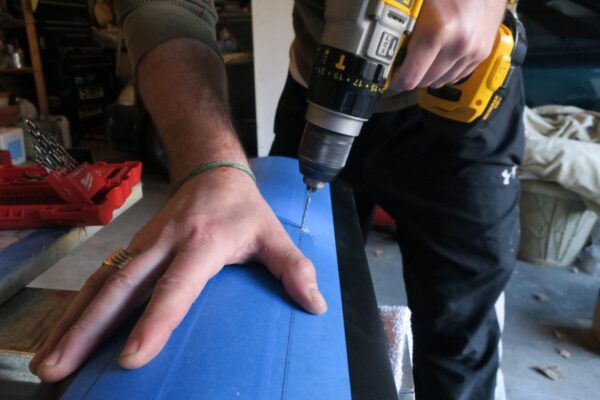
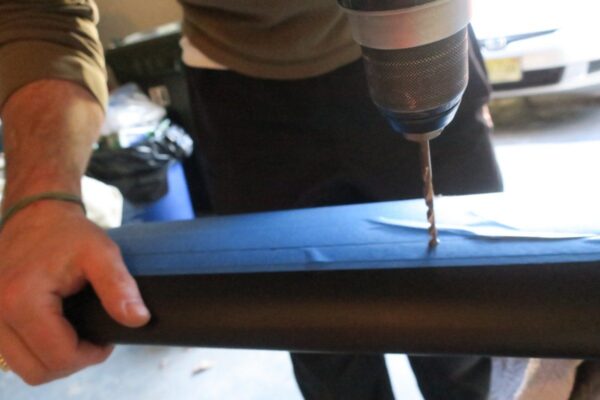
- Drill using 5mm drill bit (0.197")
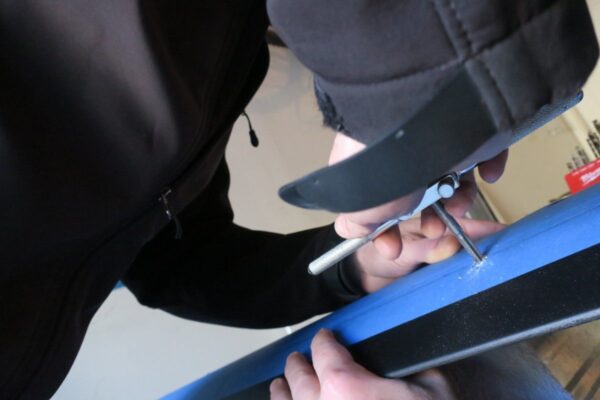
- Tap using M6x1.0 tap
- Remove tape
Install on Hatch
- Assemble all brackets with bolts hand tight only per instructions provided
- Assemble to Wing with bolts hand tight only
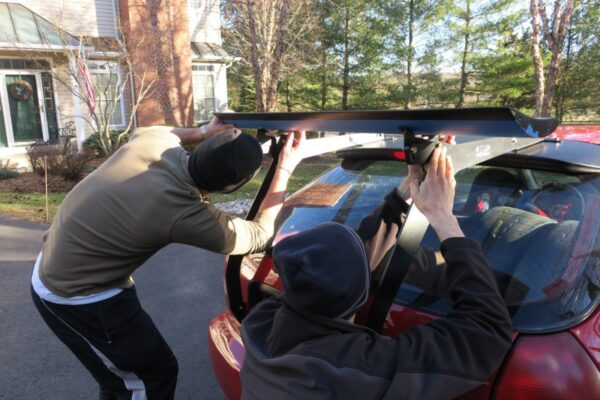
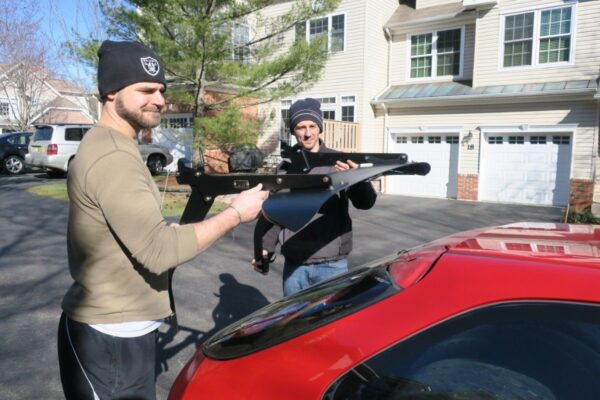
- Place on Rear of car (hatch) carefully
NOTE: Civic DX rear spoiler must be used. After market spoilers can interfere with brackets due to lenght. After market spoilers manufactured from plastic should not be used due to screw attachement method on front bracket of PCI Wing Mount Bracket
4. Center assemble wing and mounts centered on rear of car. Align front edge of wing mount bracket upper mounts flush with the front edge of OEM spoiler.
5. Take note of where upper and lower brackets are located on hatch and OEM spoiler.
6. Remove wing and mount assembly
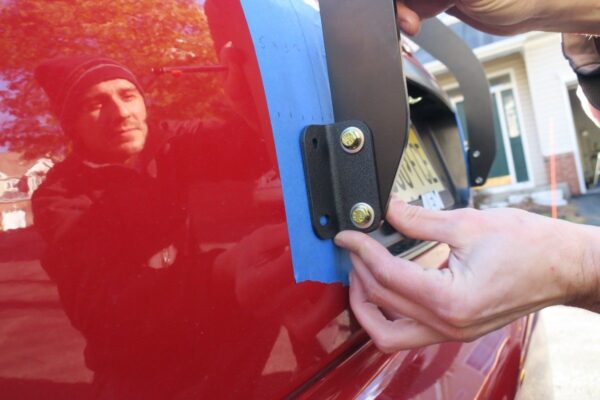
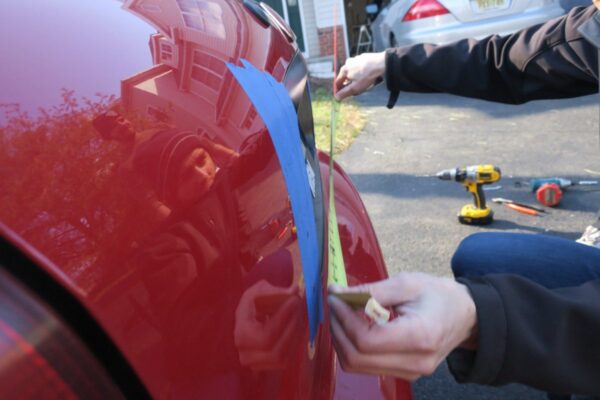
7. Place painters tape on location of mount brackets.
8. Mark on painters tape the center line of hatch hinge brackets
9. Mark vertical lines on tape where lower mount brackets were located in 1 inch increments starting by license plate garnish and working out.
10. Place assembled wing and wing mount brackets back on car
11. Center upper brackets on center-line of hinge.
12. Align lower brackets equally spaced on both sides using vertical lines drawn in Step 9.
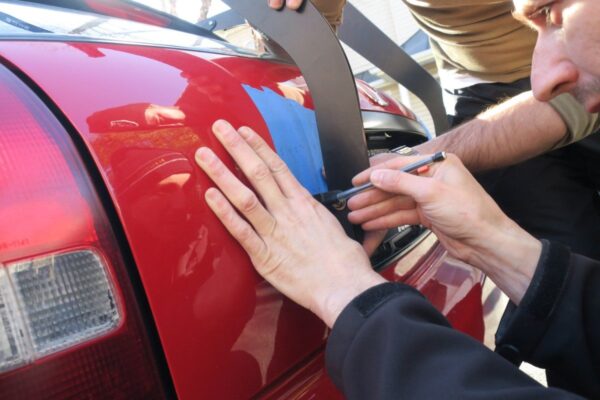
13. Mark holes of brackets for attachment to hatch and OEM spoiler
14. Measure again to ensure all mirrored holes are equally spaced from edges of OEM spoiler and hatch
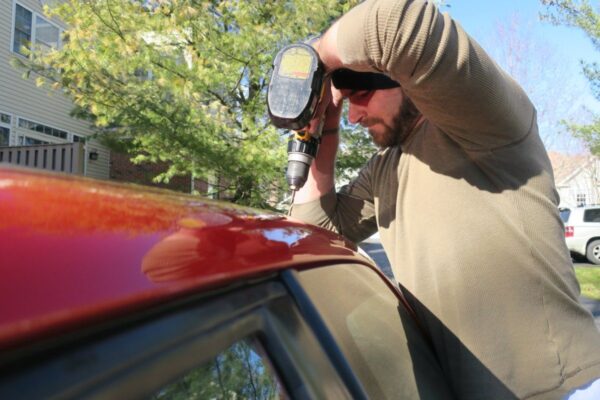
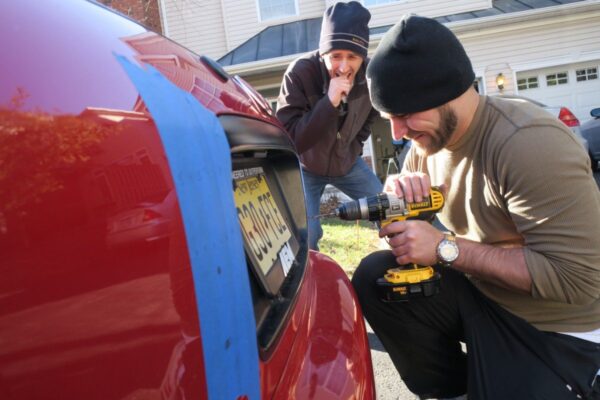
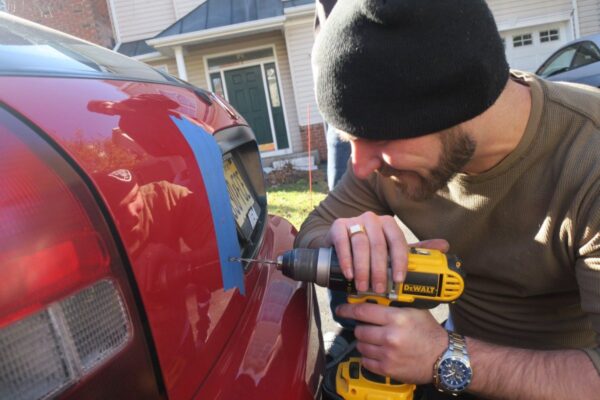
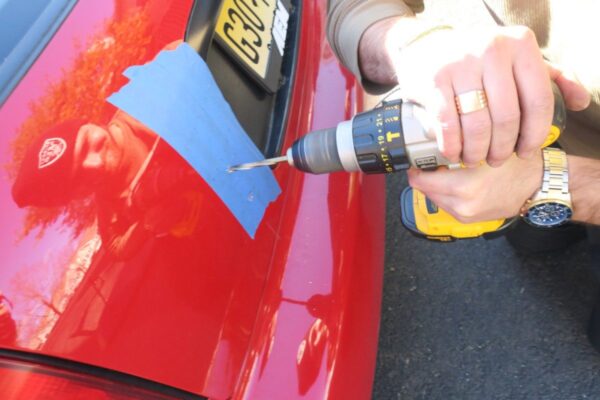
15. Drill lower bracket holes using 3/8" drill bit
16. Drill upper bracket front holes using 3/8" drill bit
17. Remove painters tape and OEM spoiler
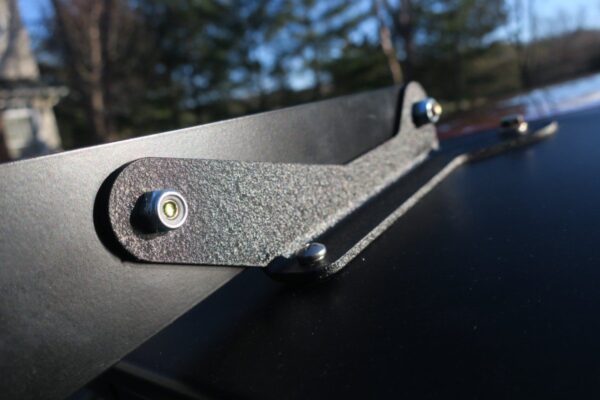
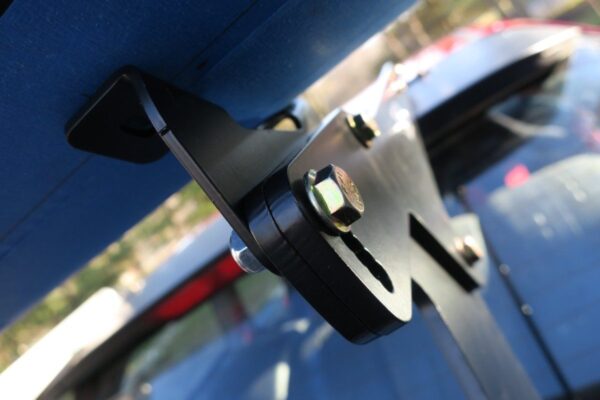
18. Attach to Wing and Wing mount using provided bolts, luck nuts, and over sized washers
19. Place on vehicle and bolt assembly to hatch
20. Using provided #10 Philips screws attach upper bracket to OEM spoiler using rearward holes in bracket.
21. Tighten all bolts to final torque spec (~13 ft·lb's for 6mm bolts and ~20 ft·lb's for 8mm bolts)
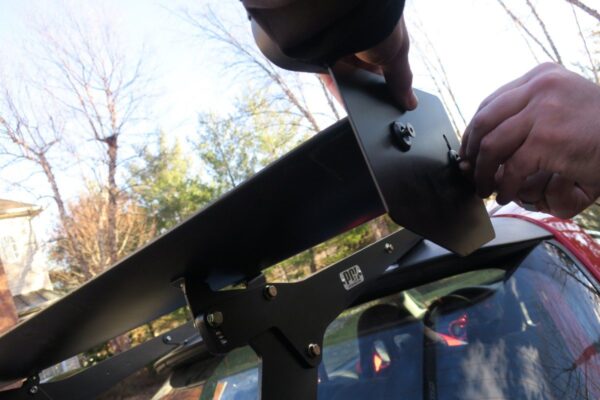
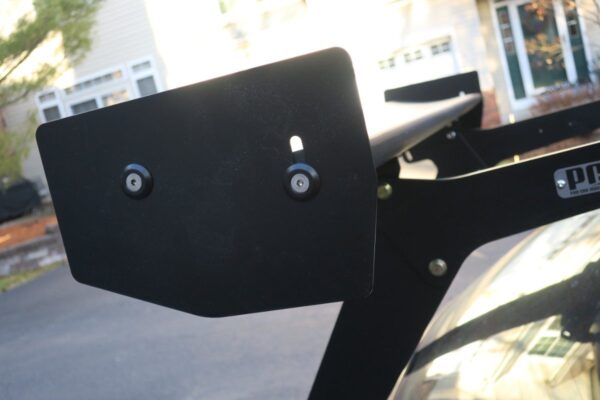
22.Attach wing side plates using allen flat head screws and delrin washers provided.
NOTE:Align top edge of wing side plates parallel to ground
Keep Wrenching !
